Open a Miami-Dade Notice of Acceptance looking for a rough opening and you will not find one. You will find a tested size, a design-pressure chart indexed by unit dimensions, an anchorage schedule, a substrate list — and nothing that reads like the opening you have to frame.
That is not a gap in the document. The NOA approves an assembly, and the assembly is measured at the frame. The rough opening is a construction tolerance, and it belongs to the manufacturer’s installation instructions.
The short version
- The approval fixes four things: the tested size, the design pressure available at that size, the anchorage, and the substrate it anchors into. It does not dimension your wall opening.
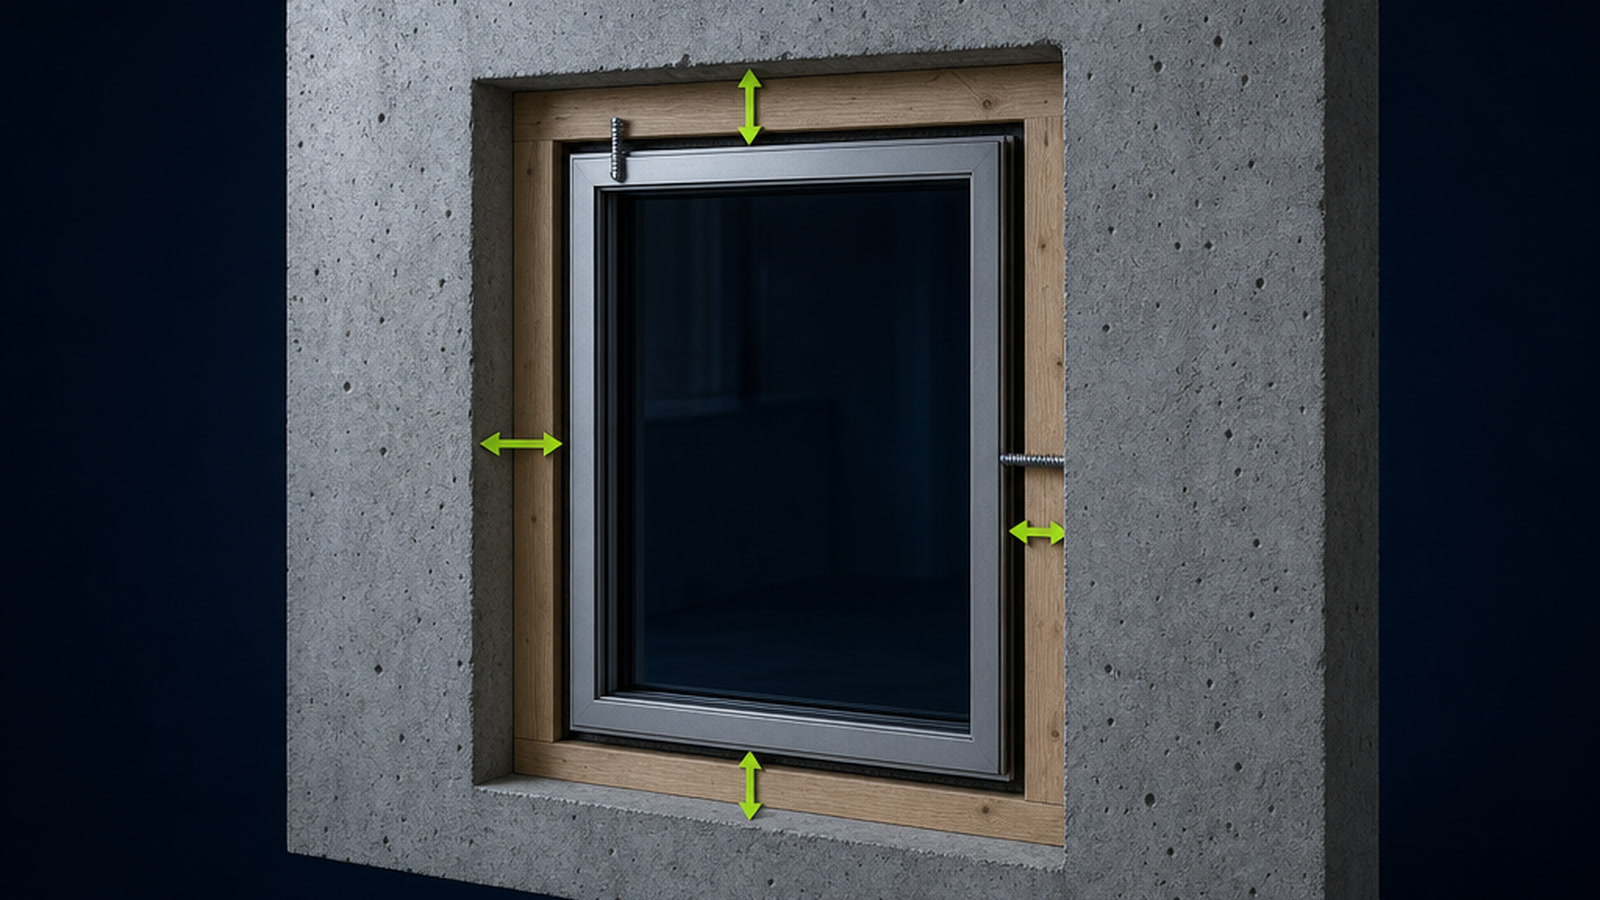
- The rough opening is the frame’s outside dimension plus the clearance the manufacturer publishes — stated per side, and sized for shims, sealant joint and an opening that is not perfectly square.
- The reviewer compares the frame against the approved size, not the opening. A bid written off a nominal opening is a bid written off the wrong number.
- If the framed opening cannot take a frame inside the approved size, you do not stretch the approval. You change product, or you get engineering analysis under the exception in FBC §1709.5.
What the approval actually fixes
FBC §1709.5.1 (Building) and §R609.3 (Residential) require the product label to state the positive and negative design pressure rating, the product maximum size tested, the applicable test standards, and the Florida product approval or Miami-Dade approval number. The label is a summary of the approval, and the approval is built around the same set of facts.
Read a real window NOA and the structure is consistent: the series description, the approval drawing with its revision letter, the missile impact rating, the labeling requirement, and then a design-pressure capacity chart. The chart’s rows and columns are unit dimensions — height against width, or tributary width on a mullion — with positive and negative capacity in psf. Capacity falls as either dimension grows. There is no cell in that table for the opening in your wall.
FBC §1626.2.2 is why. The test specimens are “the entire assembled unit, including frame and anchorage as supplied by the manufacturer,” with fasteners “identical in size and spacing” to field installation. What was tested is what got accepted. The frame boundary is the specimen boundary, and the anchorage schedule is drawn to that boundary.
Where the rough opening number comes from
The opening is the frame dimension plus clearance, and the clearance is published. It comes from the manufacturer’s installation instructions — a rough-opening table, or a framing detail with the dimension called out per side. Two things vary by product line, and both change the number:
- The clearance. It carries the shim pack, the sealant joint, and the allowance for an opening that came out of the form or the framing out of square. Different product lines publish different values. The installation instructions are the only authority for yours; a rule of thumb borrowed from another series is a guess with a decimal point.
- What the frame dimension is measured to. Frame outside dimension is not the same as overall unit dimension. A nailing fin adds a flange in one direction. A receptor or sill pan changes the sill elevation and the depth. A field mullion that runs past the jamb changes the width you have to fit.
The code treats the opening, the frame and the flashing as one detail even though the bid treats them as three line items. FBC Residential §R703.4 sends flashing at exterior window and door openings to the fenestration manufacturer’s installation and flashing instructions, and requires pan flashing at the sill where those instructions don’t address the condition.
The chain, in order
Run it in this sequence and no step surprises the next one:
- Design pressure at that opening. Off the structural drawings, or computed per ASCE 7-22 Chapter 30 for components and cladding — using the effective wind area of the opening, not of the wall.
- Approved maximum size at that pressure. Read the capacity chart at your frame height and width. If the opening sits above the last row at your width, you are outside the approval before you measure anything.
- Frame dimension for the size that satisfies step 2.
- Clearance from the manufacturer’s installation instructions for that revision.
- Rough opening = step 3 plus step 4. The framed, sheathed opening then has to hold that frame plumb, level and square.
Step 5 is where the money goes. An opening half an inch over on one side is not a change order for the glazing sub — it is a shim pack, a wider sealant joint, and an inspector asking why the anchor edge distance came up short.
Three ways this goes wrong
Quoting the opening as if it were the unit. The bid goes out at the framed size, the frame arrives smaller, and the anchorage detail was drawn for the larger dimension. The unit may still be inside the approved envelope — and the schedule, the drawing and the delivered product now disagree.
Reading the chart on the wrong axis. Height and width are not interchangeable. A unit rotated in the elevation keeps its glass and loses capacity. That rejection is arithmetic, not opinion.
Assuming the approval covers the deviation. The exception in §1709.5 permits a design pressure different from the tested size only where it is established by accepted engineering analysis under AAMA 2502 or WDMA I.S. 11, or validated by an additional test — and the components of the alternate size must be the same as the tested or labeled assembly. A taller unit with a heavier mullion is a different assembly, not a bigger version of the same one.
When the opening will not take an approved frame
Three legitimate answers, cheapest first:
- Resize the frame inside the approved envelope. Most of the time the opening clears and the elevation still reads. It is a design decision, and it belongs before the shop drawing, not after.
- Switch to a product approved at the size you need. Slower, but clean, and it survives inspection.
- Engineering analysis or an additional test under §1709.5. Legitimate and documented — and not something to promise a general contractor on a Friday afternoon.
What is not an answer is installing the unit and letting the inspector find it. The label states the maximum size tested and stays on the glass until the building official signs off. What the submittal package has to contain, item by item is the checklist side of the same problem.
What the shop drawing should show
One row per opening, with four numbers that are not the same number: design pressure, approved maximum size at that pressure, frame size, rough opening. Add the approval number with its revision letter, and the revision of the installation instructions you are building to.
If frame size equals rough opening anywhere on your drawing, the drawing is wrong, and the error is already priced into the bid.
Reading a Miami-Dade NOA field by field covers the rest of the document, including the sections that limit where the product may be used at all. The takeoff side — how an opening gets counted and carried from the schedule to the wall section — is in window/door schedule vs. wall section.
If the problem is not knowing the number but reproducing it across forty openings and six product lines, that is the check our compliance deliverables exist to run: read the approval, read the elevation, and hand back a schedule where frame, pressure and opening agree.